
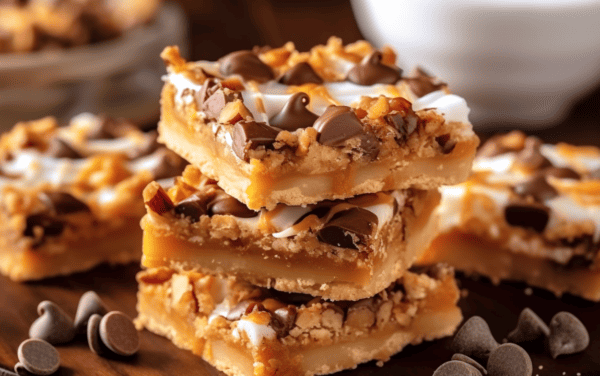
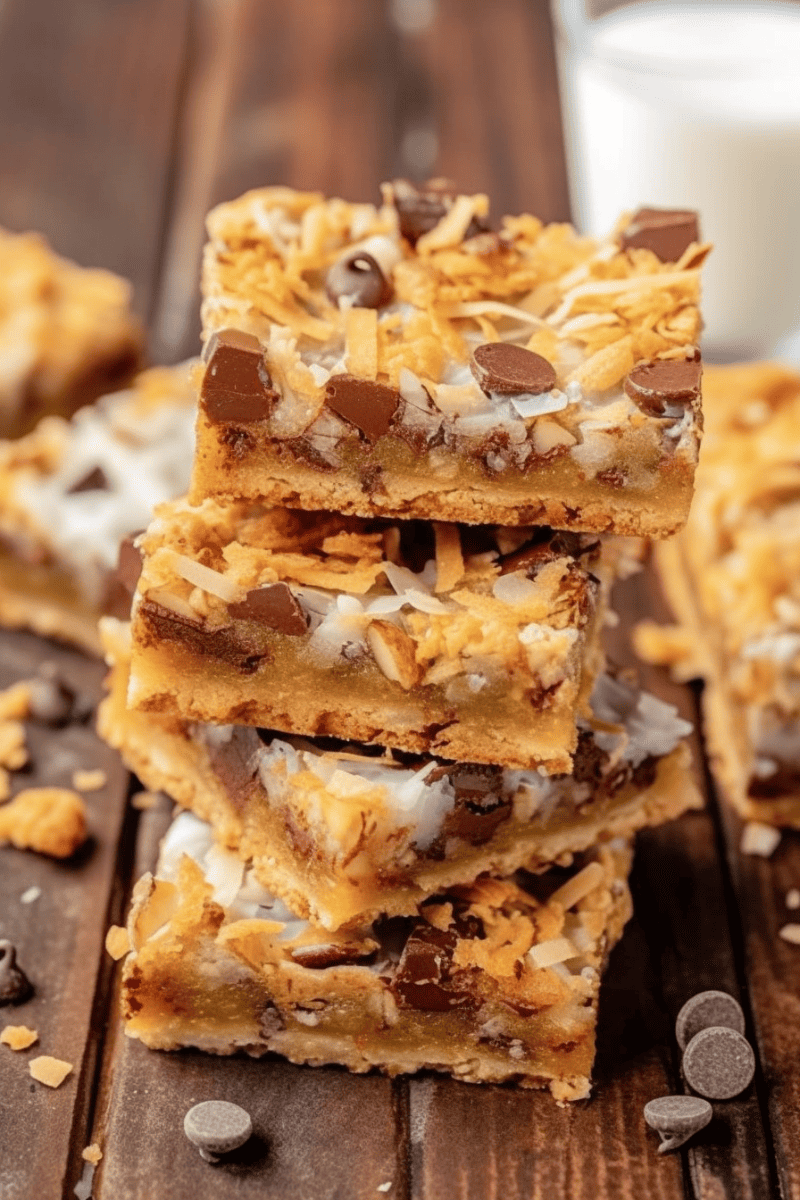
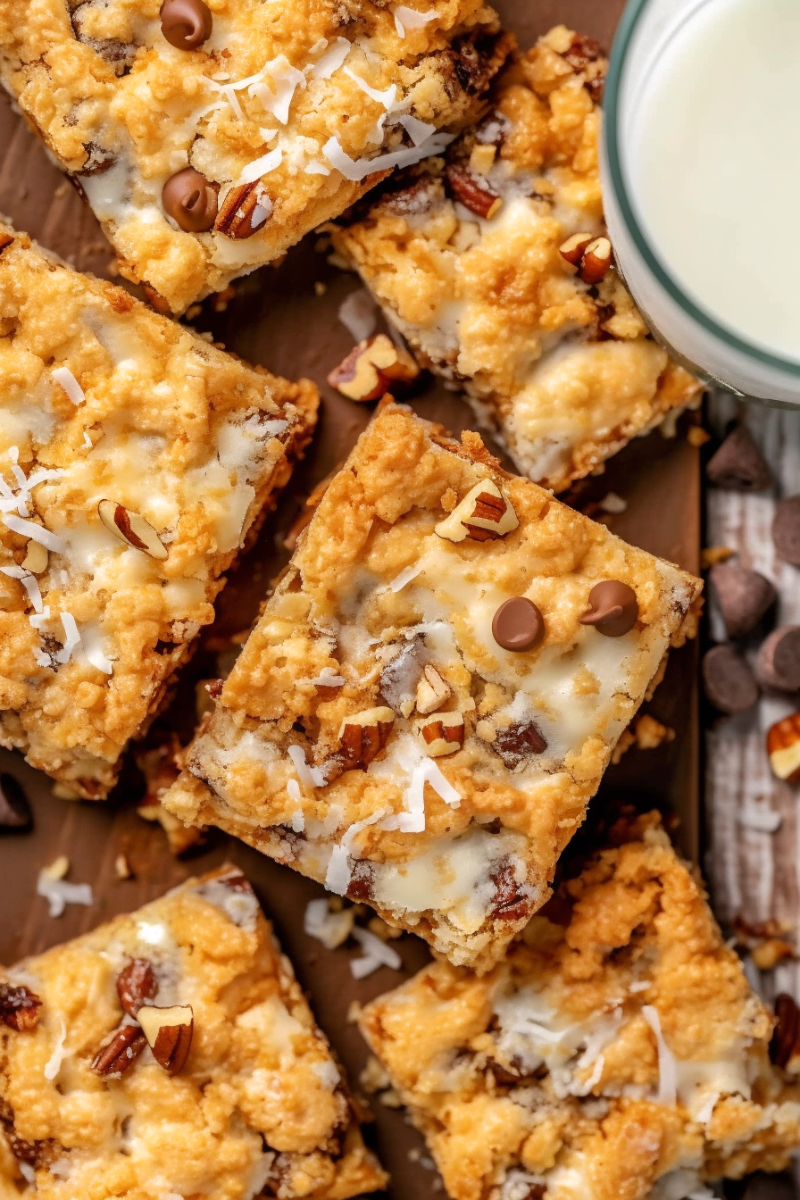
Discover the magic of seven delectable layers that come together in this heavenly 7 layer dessert bar that’s hard to resist.
We love desserts that feed a crowd. If it can be made in a 9×13 pan, we are all over it. You see, we’re the kind of family that doesn’t want one tiny serving of dessert. We want the option to go back for seconds without having to fork fight with the kids! 7 layer bars give you all of that crunch and chocolatey, coconut-y flavor that you’re craving. Trust us, it’s addictingly good.
Frequently Asked Questions
We understand that nut allergies are a real thing, and so many are omitting nuts to play it safe. Pecans in this recipe are completely optional and can be left out or swapped out for a different nut for any reason.
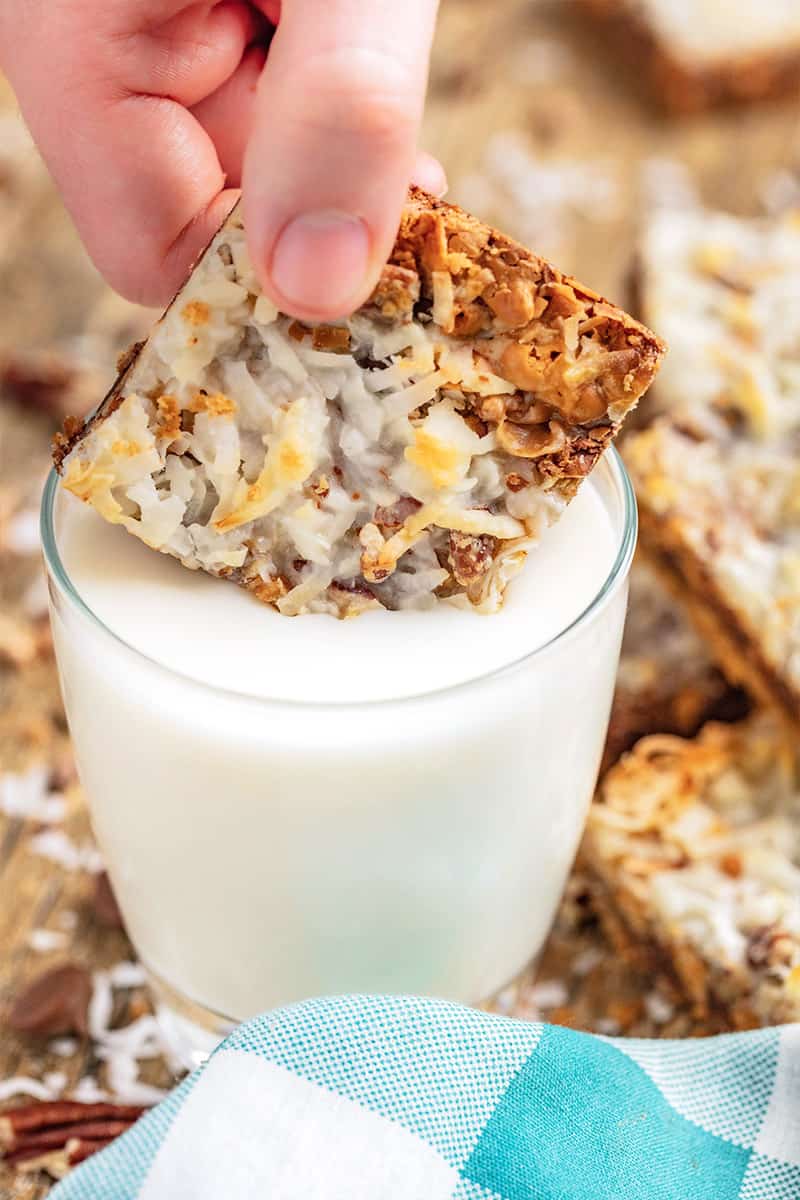
We love the added texture and sweetness the coconut brings to this recipe. If you do not love coconut, you can always leave it out.
Absolutely! Feel free to mix and match chocolate types to suit your preference.
Substitutions
- Pecans: Substitute with walnuts, chopped almonds, or hazelnuts.
- Butterscotch Chips: Substitute with peanut butter chips for a delicious twist!
- Sweetened Coconut Flakes: Substitute with unsweetened coconut flakes to reduce the overall sweetness of the bars.
- Salted Butter: Substitute with your preferred plant-based butter or with regular, unsalted butter + 1/4 teaspoon salt.
Troubleshooting
Bars are too crumbly: Ensure the crust is well-pressed and compacted, and that the bars are cooled sufficiently before slicing. Proper layering and adequate baking time are also crucial.
Tips From the Chef
- Ensure your butter is fully melted for an even crust.
- Press the layers gently, especially the crust, to ensure the bars hold together well.
- Use a sharp knife to slice the bars, wiping it clean between cuts for neater slices.
Serving Instructions
You need to let these bars fully set before slicing and serving. Either let them cool in the refrigerator or set for a few hours.
Storage & Freezing Instructions
Store the bars in an airtight container at room temperature for up to 3 days. For longer storage, refrigerate them for up to a week.
If you wish to freeze the bars, wrap them individually in plastic wrap and place them in a freezer-safe container. They can be frozen for up to a month.
Eat All the Desserts!
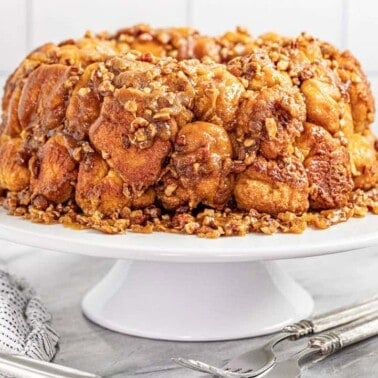
Gooey Caramel Pecan Monkey Bread (From Scratch)
2 hrs 25 mins
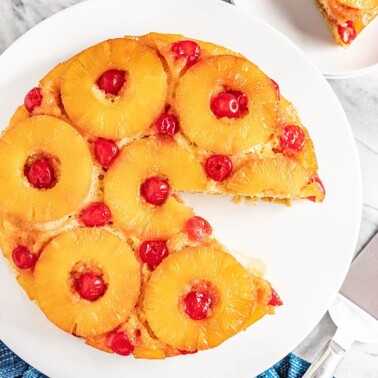
Pineapple Upside Down Cake
55 mins
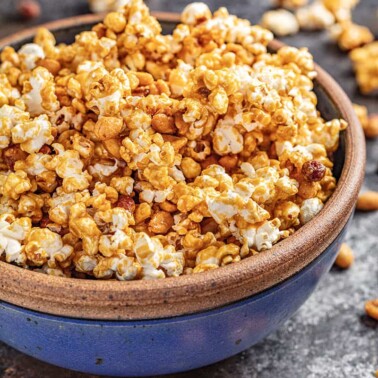
Honey Roasted Caramel Corn
1 hr 15 mins
Watch the video below where Caytlin will walk you through every step of this recipe. Sometimes it helps to have a visual, and we’ve always got you covered with our cooking show. You can find the complete collection of recipes on YouTube, Facebook Watch, or our Facebook Page, or right here on our website with their corresponding recipes.

These are very good but I’ve made them twice and they have taken a lot longer than 22 minutes to get done both times. I’ve baked them at 350. Not sure why they take so much longer than what the recipe calls for. I am baking in a gas oven if that makes a difference.
I just sent my review and forgot the rating
Delish and sweet enough for my taste living it.
I always keep these ingredients on hand for those “in a pinch need for a delicious dessert. It is portable, mailable, easy, and oh so satisfying!. thank you for sharing your version! love your recipes!
I grew up enjoying these. Apparently, they were quite popular in the 70s. I have my mom’s recipe, & I make them often for my family, as well as for get-togethers. They’re always a huge hit.
OMG they are so good and addictive. The sugar rush is real. Made them for my coworkers and the consensus was they are crack! Don’t ask me how they know….lol. Will make again. Thanks for the recipe.
These are an old time family & friends favorite. So many variations 👍the only tweak I would mention after making this recipe so many times; (is the order) I add the condensed milk and the then the coconut, then press down on the layers, to ensure a good bar that stays together.